Introduction:
This is a paragraph.
Research shows lean meat eaters lose 25% more weight than non-meat eaters on calorie-matched diets, primarily due to protein’s satiety effect.
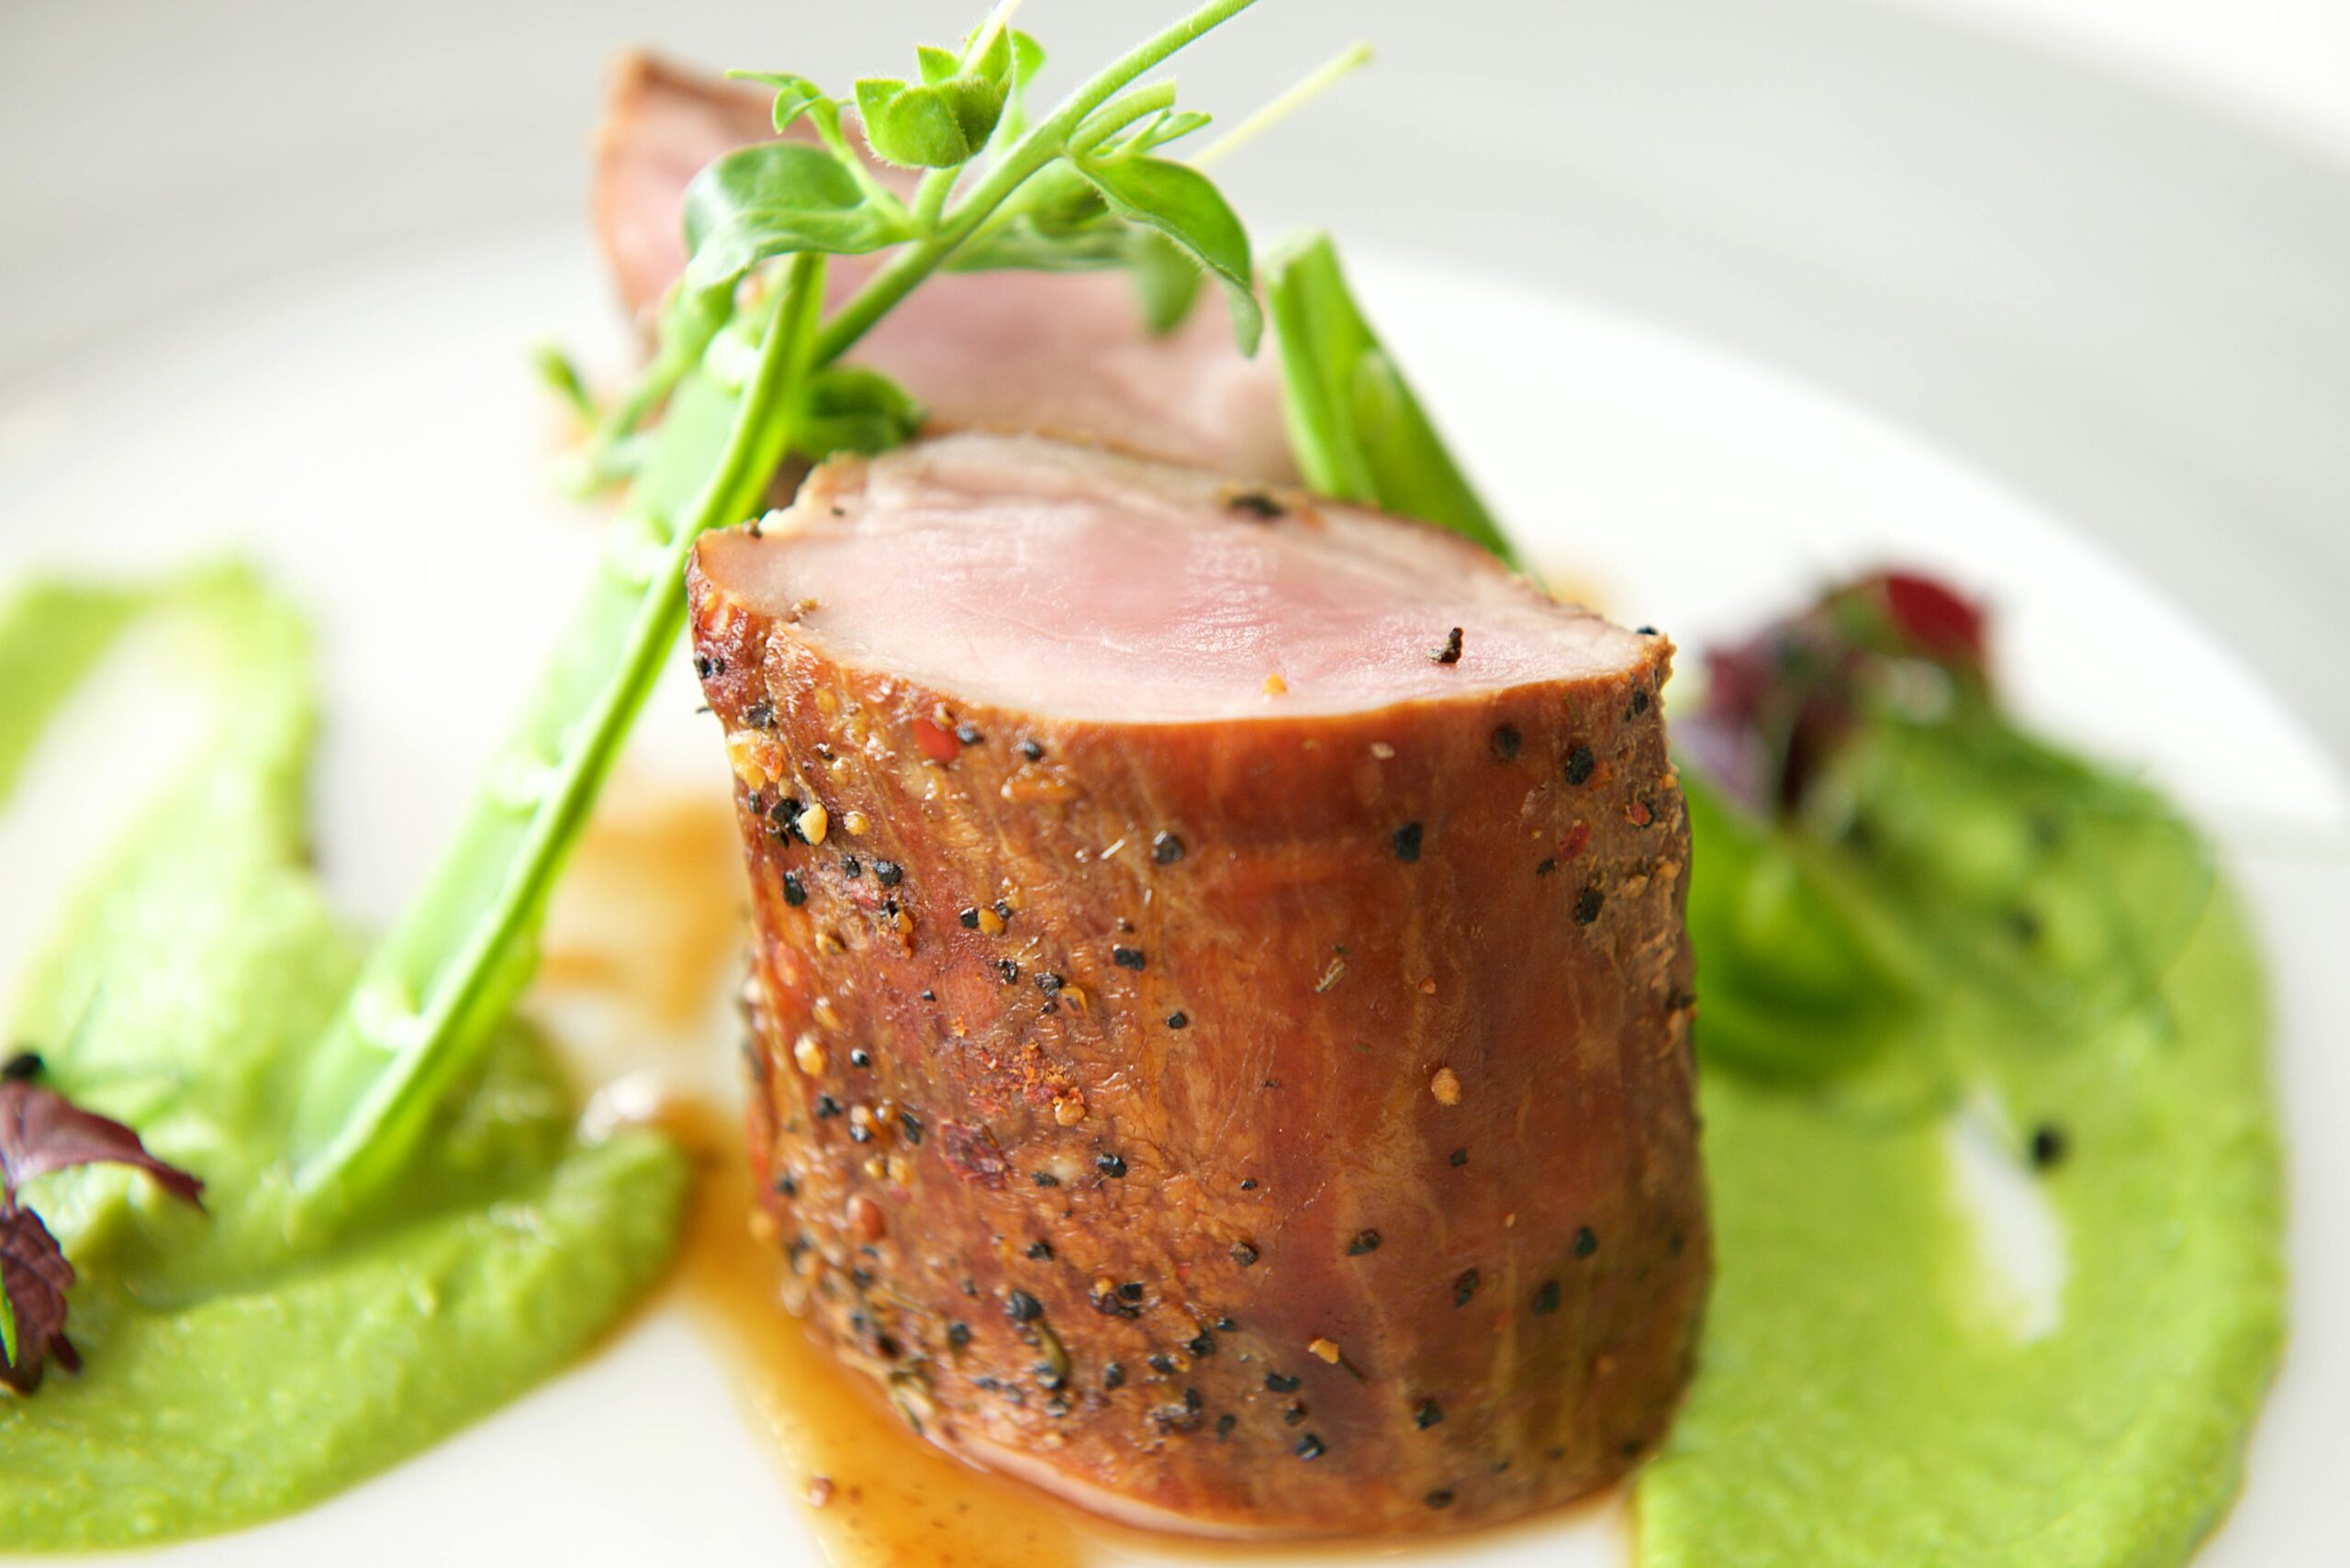
Top Lean Meat Options
“Why I Finally Switched to Leaner Meat Options (And What I Learned Along the Way)”
Let me tell you, my journey with lean meats wasn’t exactly love at first bite. Back when I first started getting serious about nutrition, I was that person who’d grab whatever meat was on sale at the grocery store, without giving much thought to its protein content or fat ratios. Boy, was I missing out on some serious gains in my health journey!
The game-changer came when I started tracking my macros (yeah, I was that person with the food scale and everything). I discovered that chicken breast, which packs a whopping 31 grams of protein per 100 grams with only 3.6 grams of fat, was giving me way more nutritional bang for my buck than the fattier cuts I’d been buying. Who knew that switching from regular ground beef to 93% lean could cut my fat intake nearly in half while keeping almost the same protein content?
Here’s what I’ve learned about the leanest meat options through countless grocery trips and meal prep sessions:
Chicken breast is the undisputed champion of lean proteins. I used to think it was boring, but here’s the thing – it’s all about preparation. At around 165 calories per 100 grams, it’s practically unbeatable for protein density. Pro tip: buying them in bulk when they’re on sale and freezing them individually has saved me tons of money over the years.
Turkey breast comes in as a close second, with about 29 grams of protein per 100 grams and similar calories to chicken breast. What surprised me was discovering that ground turkey breast (99% lean) is actually leaner than ground chicken – something I wish I’d known years ago!
Pork tenderloin has been my secret weapon lately. At around 143 calories per 100 grams, it’s significantly leaner than other pork cuts and usually cheaper than beef. Plus, it’s got this amazing nutrient profile with lots of B vitamins and selenium that you don’t hear people talk about enough.
Speaking of beef, eye of round and sirloin tip have become my go-to lean beef options. They’re not as cheap as chicken, but when you compare the iron content and B12 levels, sometimes it’s worth splurging a bit. I’ve found these cuts typically run about $5-7 per pound at my local store, though prices can vary quite a bit depending on your location.
One thing that took me forever to figure out was availability patterns. Most folks don’t realize that lean meats often go on sale right after major holidays – it’s like clockwork! I’ve started stocking up during these times, especially since lean cuts freeze really well. Just make sure you’re wrapping them properly (learned that lesson the hard way after dealing with some nasty freezer burn).
Here’s a quick breakdown of protein-to-fat ratios that I wish someone had shared with me earlier:
– Chicken breast: 31g protein / 3.6g fat
– Turkey breast: 29g protein / 1g fat
– Pork tenderloin: 26g protein / 3.5g fat
– Eye of round beef: 27g protein / 4g fat
The coolest part about switching to leaner meats has been seeing how it affects my overall nutrition. My protein intake stays high while keeping my total calories in check, which has made maintaining a healthy weight so much easier. Plus, I’ve noticed I feel less sluggish after meals compared to when I was eating fattier cuts.
Look, I’m not saying you need to completely ditch other meat options – balance is key. But understanding these lean meat options has seriously upped my nutrition game. Just remember to watch for sales, buy in bulk when possible, and don’t be afraid to experiment with different cooking methods to keep things interesting.
Preparation Methods
“How I Learned to Stop Overcooking Lean Meats (And Actually Make Them Tasty)”
Can we talk about my early disasters with lean meats? I still cringe thinking about those bone-dry chicken breasts I used to serve my family. After years of trial and error (and yes, quite a few emergency takeout dinners), I’ve finally cracked the code on preparing lean meats that actually taste amazing.
Temperature control turned out to be the real MVP in my cooking journey. I used to think cranking up the heat would cook things faster, but that was exactly what was turning my lean meats into shoe leather. These days, I’m religious about using a meat thermometer – seriously, it’s been a game-changer. Here are the target temperatures I’ve found work perfectly:
– Chicken breast: Pull it at 163°F, it’ll hit 165°F while resting
– Pork tenderloin: 145°F is the sweet spot
– Lean beef cuts: 135°F for medium-rare perfection
Let’s talk about brining, because this technique literally transformed my chicken game. A simple solution of 4 tablespoons of salt per quart of water, and letting the meat soak for just 30 minutes, makes such a difference in moisture retention. I learned this trick from a cooking class, and it’s especially crucial for lean cuts that tend to dry out easily.
Storage has been another learning curve entirely. After throwing away too many freezer-burned pieces of meat (and basically watching my money go in the trash), I’ve developed a pretty solid system. Vacuum sealing is ideal, but if you’re like me and don’t want to invest in another kitchen gadget, here’s what works: wrap the meat tightly in plastic wrap first, then aluminum foil, and finally pop it in a freezer bag with the air squeezed out. Label everything with the date – trust me, playing freezer mystery meat is no fun.
One thing that took me way too long to figure out was portion control. Did you know a proper portion of lean meat is about the size of your palm? I used to eyeball it and consistently overserved, which not only meant wasted food but also blown budgets. Now I portion everything before freezing – typically 6 ounces for dinner portions and 4 ounces for lunch meals.
When it comes to seasoning, I’ve learned that timing matters as much as the seasonings themselves. Salt goes on at least 40 minutes before cooking (or just before) – anything in between pulls moisture to the surface and can leave you with a tougher result. For other seasonings, I’ve found that making my own blends saves money and lets me control the sodium. My go-to mixture is:
– 2 parts garlic powder
– 1 part onion powder
– 1 part paprika
– 1/2 part black pepper
– 1/4 part dried herbs (thyme and oregano are my favorites)
The cooking technique that’s really leveled up my lean meat game is reverse searing. It sounds fancy, but it’s actually super simple: start the meat in a low-temperature oven (around 275°F) until it’s about 15-20 degrees below your target temp, then finish it with a quick sear in a blazing hot pan. This method gives you way more control over doneness and helps prevent the dreaded dry-out.
For meal prep, I’ve started using what I call the “cook once, eat thrice” method. When I’m already heating up the oven, I’ll cook extra portions but season them differently. This way, I’m not eating the exact same thing all week, but I’m still being efficient with my time and energy use.
Remember how I mentioned a meat thermometer earlier? Well, here’s a pro tip I wish I’d known sooner: calibrate it regularly by testing it in ice water (should read 32°F) and boiling water (212°F at sea level). This simple check has saved me from both undercooked and overcooked meals more times than I can count.
Meal Planning Tips
“My No-Nonsense Guide to Meal Planning with Lean Meats (What Actually Works)”
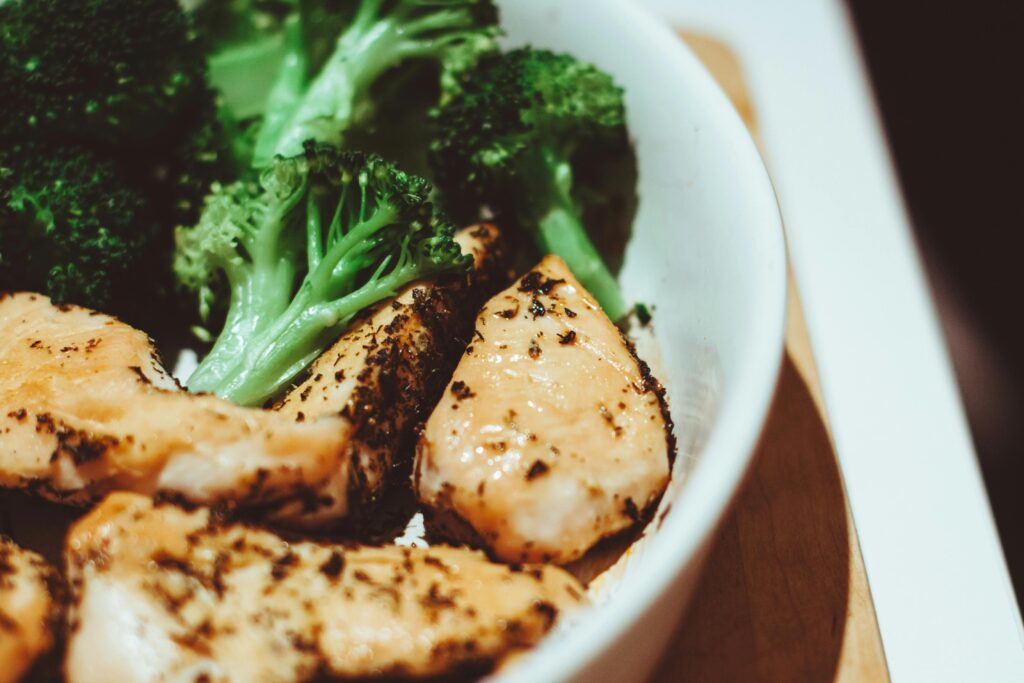
Let me tell you about the weeks I spent eating the same boring chicken and broccoli combo before I figured out how to really nail this meal planning thing. Trust me, there’s a better way, and I learned it through plenty of trial and error (and more than a few mysteriously freezer-burned meals).
The game-changer for my meal prep routine was discovering what I call the “3-3-3 method”: prep three proteins, three veggie sides, and three sauce variations. This simple system has saved me from the dreaded meal prep burnout more times than I can count. For example, I’ll cook chicken breast, turkey tenderloin, and lean beef sirloin, then mix and match them with different sides and sauces throughout the week. Each portion is about 6 ounces of cooked protein – I’ve found this hits the sweet spot for satiety without going overboard.
Storage was honestly my biggest headache at first. After ruining way too many meals with freezer burn, I developed a foolproof system. Glass containers are your best friend here – they don’t retain odors like plastic ones do (learned that the hard way after a particularly pungent curry chicken incident). Pro tip: leave a little space at the top of each container for expansion if you’re freezing, but remove as much air as possible if refrigerating.
Here’s my weekly prep schedule that’s actually sustainable:
Sunday: Bulk cook proteins (2-3 different types)
Monday-Wednesday: Refrigerated portions
Thursday-Friday: Frozen portions
Weekend: Fresh cook or leftovers
Let’s talk about reheating because this is where most people mess up. Microwaving lean meat can turn it into rubber if you’re not careful. The secret is adding a bit of moisture – I place a damp paper towel over the container and heat in 30-second intervals. For chicken breast, I’ve found that 70% power works better than full blast. Even better, if you have time, letting the food come to room temperature for 15 minutes before reheating makes a huge difference in the final texture.
One thing that surprised me was learning about combination guidelines. Lean proteins actually absorb flavors better when paired with healthy fats. I add a tablespoon of olive oil to my container before storing – not only does it help with nutrient absorption, but it also keeps the meat more tender when reheated.
Temperature safety has become second nature now, but I used to be pretty cavalier about it. Hot food needs to be cooled to room temperature before going in the fridge (but don’t leave it out longer than 2 hours), and everything should be reheated to at least 165°F for safety. I use my phone timer religiously now – no more guessing games.
Portion control was a game-changer for my meal prep success. Here’s what I’ve found works for most people:
– Breakfast protein: 4 ounces
– Lunch protein: 5-6 ounces
– Dinner protein: 6-7 ounces
The most valuable lesson I’ve learned is that successful meal planning isn’t about being perfect – it’s about being practical. Some weeks, I only manage to prep my proteins and buy pre-cut veggies. Other weeks, I’m a meal prep champion with everything portioned out perfectly. Both are totally fine! The key is having a flexible system that you can adapt to your schedule.
Remember those emergency takeout dinners when meal prep goes wrong? I keep a few portions of cooked, seasoned protein in the freezer specifically for those nights. They’ve saved me from ordering pizza more times than I’d like to admit. Just make sure to date everything – trying to guess how long something’s been in the freezer is never fun.
Selection Guidelines
“What I’ve Learned About Choosing Quality Lean Meats (After Too Many Expensive Mistakes)”
You know that moment when you open a package of meat and something just seems…off? Been there more times than I’d like to admit. After years of trial and error (and some pretty pricey mistakes), I’ve finally figured out how to choose quality lean meats consistently. Let me share what I wish someone had told me years ago.
The color of meat tells you so much more than I initially realized. For chicken breast, you’re looking for a pink, almost peachy color – not that ghostly pale stuff I used to grab without thinking. With lean beef, bright cherry-red is your friend, while pork tenderloin should be grayish-pink. One thing that threw me off at first was that darker color on beef doesn’t necessarily mean it’s bad – it might just mean it’s been exposed to oxygen, which is totally normal.
Let’s talk about those labels because they can be seriously confusing. I used to think “natural” meant something special until I learned it’s basically a marketing term. Here’s what actually matters on chicken labels:
– “Air-chilled” means better texture and no added water weight
– “No antibiotics ever” is more meaningful than “natural”
– “USDA Grade A” is the quality standard you want to look for
The ‘best by’ dates tripped me up for ages. Here’s the real deal: fresh chicken typically lasts 1-2 days past the sell-by date if properly refrigerated at 40°F or below. For beef, you’ve got about 3-5 days, and pork falls somewhere in between. But here’s something I learned the hard way – these timeframes only work if the meat’s been continuously refrigerated at the right temperature.
Speaking of storage, the bottom shelf of your fridge is your lean meat’s best friend. I used to stick meat wherever there was space (big mistake). The bottom shelf is the coldest part of your fridge, and it prevents any drips from contaminating other foods. Also, don’t unwrap meat until you’re ready to use it – the original packaging is designed to protect it.
Brand selection was something I used to overthink until I developed a simple system. Instead of just going for the most expensive option (which I embarrassingly did for way too long), I now look for brands that are transparent about their processing methods and animal welfare standards. In my experience, these companies tend to produce more consistent quality.
One game-changing tip I picked up from a butcher: if you’re buying ground meat, look at the label for the grinding date rather than just the sell-by date. The closer to the grinding date, the fresher it’ll be. This has made such a difference in the quality of my meals.
Here’s a real money-saving tip that took me too long to figure out: building a relationship with your local butcher is worth its weight in gold. They can tell you when fresh shipments come in, what’s about to go on sale, and they’ll often give you the heads up on upcoming specials. Plus, they can custom-cut your meat to the exact specifications you need.
Temperature control during transport is crucial – something I learned after a particularly unpleasant food safety incident. Now I always bring an insulated bag with me for grocery shopping, especially during summer months. And if it takes more than 30 minutes to get home, I throw in an ice pack. Might seem excessive, but it’s cheaper than replacing spoiled meat or dealing with food poisoning.
The biggest lesson I’ve learned about selecting lean meats? Price isn’t always the best indicator of quality. Some store brands are just as good as the premium options – they just spend less on marketing. The key is knowing what to look for in terms of color, texture, and packaging integrity, regardless of the brand name on the label.
Common Mistakes
“The Biggest Lean Meat Mistakes I’ve Made (So You Don’t Have To)”
Okay, can we talk about the time I ruined an entire week’s worth of meal prep because I didn’t understand proper storage temperatures? I wish I could say that was my only major mishap with lean meats, but honestly, I’ve made pretty much every mistake in the book. Let me share what I’ve learned the hard way.
Temperature control was my nemesis for the longest time. I used to think that if high heat cooks meat faster, that must be better, right? Wrong. So wrong. I can’t tell you how many chicken breasts I turned into rubber before I finally learned that medium heat (around 375°F for the oven) is usually ideal. And don’t even get me started on the times I skipped using a meat thermometer because I thought I could “just tell” when it was done.
Portion size was another area where I consistently messed up. I’d eyeball what I thought was 6 ounces and end up with nearly double that. Not only was I wasting food, but I was also throwing off my meal planning entirely. These days, I always weigh my portions raw because here’s something that blew my mind: meat typically loses about 25% of its weight during cooking. So that 8-ounce raw chicken breast becomes about 6 ounces after cooking.
Let’s talk about my storage failures because there have been plenty. The worst was probably when I stacked hot containers of cooked chicken in the fridge (spoiler alert: they all spoiled because the middle containers never cooled properly). Now I know better – everything needs to be cooled to room temperature in a single layer before stacking, and never longer than 2 hours on the counter.
My seasoning mistakes could fill a book. There was the time I oversalted because I didn’t realize different brands of seasoning blends had vastly different salt contents. Or when I added herbs at the beginning of cooking only to have them turn bitter. Here’s what I’ve learned works best:
– Salt: At least 40 minutes before cooking or right before
– Dried herbs: Early in cooking
– Fresh herbs: After cooking
– Garlic powder: Before cooking
– Fresh garlic: Last few minutes
The freezer situation was another disaster zone. Did you know that those frost crystals on frozen meat actually indicate moisture loss? I didn’t, until I ruined countless portions by improper wrapping. The trick I finally learned is to wrap meat tightly in plastic wrap first, then foil, then a freezer bag with all the air squeezed out. It seems like overkill until you taste the difference after a month in the freezer.
Cross-contamination was something I was embarrassingly casual about at first. Using the same cutting board for raw meat and vegetables? Guilty. Not washing my hands between handling different types of meat? Done that too. Now I have separate cutting boards (color-coded!) and I’m almost obsessive about hand washing and sanitizing surfaces.
One of my most expensive mistakes was buying too much at once because it was on sale. Sounds smart, right? Except I didn’t have enough freezer space to store it properly, so some of it ended up getting freezer burn anyway. These days I follow the “buy what you can properly store” rule, even if it means missing out on some deals.
Temperature danger zone awareness was another learning curve. I used to leave meat out to thaw on the counter (I know, I know). Now I understand that between 40°F and 140°F is where bacteria have a party, and I’m much more careful about thawing in the fridge, even though it takes longer.
The reheating mistakes were particularly tragic. Microwaving on high power until the meat was hot enough to survive nuclear winter? Yeah, that was me. Now I know to use 50-70% power and add a little moisture (either water or broth) to prevent the meat from drying out.
But here’s maybe the biggest mistake of all: giving up on lean meats because I messed up a few times. Learning to cook and handle them properly has been a game-changer for my health and meal planning. Every mistake taught me something valuable, even if it was sometimes an expensive lesson!
Conclusion:
Choose chicken breast, turkey breast, or lean fish as your primary protein sources.