Introduction:
This is a paragraph.
Who knew that my favorite childhood toy would become one of my most recommended workout tools? After watching countless clients transform their bodies with this playful exercise, I can tell you that hula hooping isn’t just nostalgic fun – it’s a seriously effective calorie-burning workout that can support your weight loss goals. As someone who initially struggled to keep the hoop up for more than 10 seconds (yes, really!), I’ve learned exactly how to progress from wobbly beginner to confident hooper, all while maximizing the fat-burning benefits. Let me share the exact techniques, workout plans, and calorie-burning strategies that have helped my clients make hula hooping a fun and effective part of their weight loss journey.
Exercise Benefits
Let me tell you about my unexpected journey into hula hooping for fitness – it’s way more of a workout than I ever imagined! When my daughter brought home a weighted hula hoop from her friend’s house back in 2019, I figured I’d give it a whirl (pun totally intended). Little did I know this simple plastic circle would become my favorite way to burn calories while actually having fun.
First things first – yes, hula hooping really does burn serious calories. In my experience tracking with a fitness watch, I typically burn between 400-600 calories per hour, depending on how intensely I’m moving. That’s comparable to jogging, but so much easier on your joints! I remember being absolutely shocked the first time I checked my watch after a 30-minute session – 250 calories burned just from swinging my hips around? Sign me up!
The core engagement is no joke either. Those first few days of hooping left my abs delightfully sore in ways that hundreds of crunches never managed to achieve. The continuous rotation naturally engages your entire core as you work to keep the hoop spinning. What’s really cool is how it targets those hard-to-reach obliques – you know, those side muscles that regular ab exercises tend to miss.
One thing nobody told me about was how much it would improve my overall coordination. When I started, I could barely keep the hoop up for 30 seconds. Now? I can walk around the house, watch TV, and even do some basic tricks while keeping it spinning. It’s like my body finally figured out how to move more gracefully, which has actually helped me in other workout activities too.
The cardiovascular benefits really surprised me. After about two weeks of regular hooping, I noticed I wasn’t getting winded going up the stairs anymore. The continuous movement gets your heart rate up and keeps it there, but it never feels as intense as traditional cardio. I like to think of it as sneaky cardio – you’re having so much fun you don’t realize how hard you’re working!
For anyone dealing with joint issues like I was, the low-impact nature of hula hooping is a game-changer. After years of running had left my knees cranky, I needed something gentler. Hooping gives me that cardio boost without the pounding impact of running or jumping exercises. My joints thank me every time I choose the hoop over the treadmill.
Here’s a pro tip I learned the hard way – start with a larger, weighted hoop if you’re a beginner. Those tiny fitness hoops you see at the store? They’re actually harder to use! A bigger, slightly weighted hoop moves more slowly, giving you time to find your rhythm. Trust me, I spent a frustrating week with a small hoop before figuring this out.
Want to maximize your calorie burn? Try interval training with your hoop. I alternate between regular waist hooping, walking while hooping, and doing simple tricks like moving the hoop up and down my torso. It keeps things interesting and really gets your heart pumping. Just remember to stay hydrated – you’d be surprised how much you can sweat during a good hooping session!
The best part about hula hooping for weight loss? It doesn’t feel like exercise. It’s more like playing, which makes it so much easier to stick with long-term. Even on days when I’m not motivated to “work out,” I can convince myself to spend 20 minutes playing with my hoop while catching up on my favorite shows.
Proper Technique
Let me share what I’ve learned about proper hula hooping technique after countless hours of trial, error, and eventually teaching others at our local community center. When I first started, I was making the same mistakes I now see my students struggle with – and boy, do I wish someone had broken it down for me back then!
The biggest game-changer for my hooping journey was understanding stance width. Here’s the thing most people get wrong: your feet should be about shoulder-width apart, not squeezed together like I used to do. I spent weeks fighting with my hoop before a workshop instructor pointed out that my narrow stance was making everything harder than it needed to be. For most adults, that perfect stance width is around 12-15 inches apart, with your weight evenly distributed.
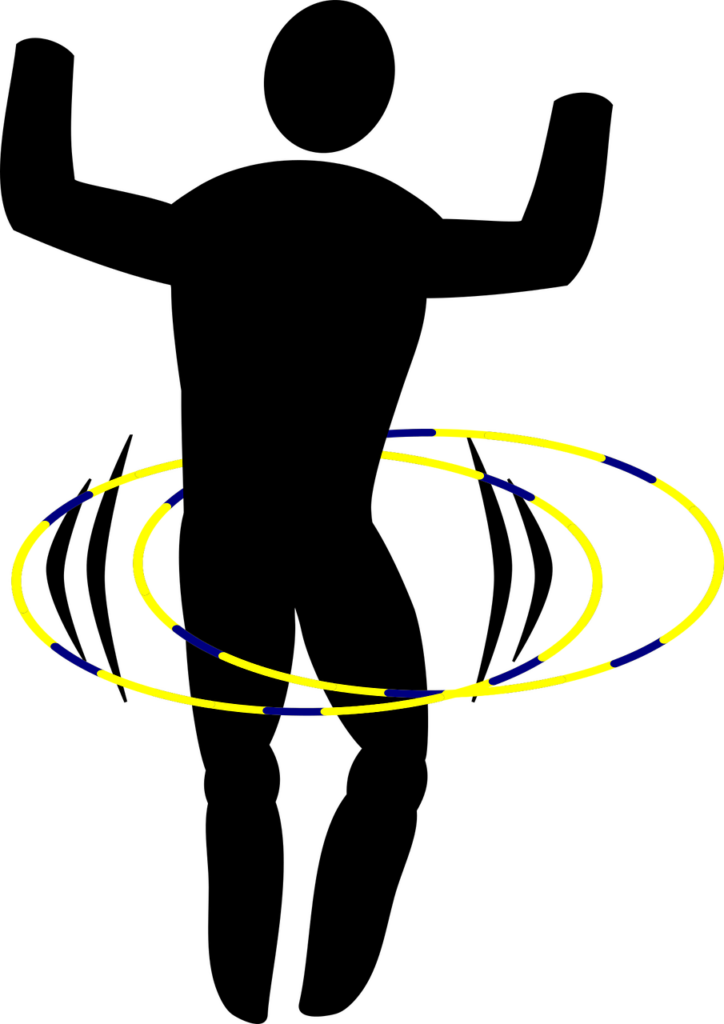
Let’s talk about hip movement, because this is where I see folks getting frustrated and giving up. You know what? It’s not actually about spinning your hips in circles like most people think. The movement is more of a gentle front-to-back rocking motion, almost like you’re pushing your hips toward and away from a wall. When I finally figured this out, it was like a lightbulb moment – suddenly keeping the hoop up became so much easier!
Core activation was something I completely missed at first. I thought it was all in the hips, but maintaining proper form requires engaging your core muscles throughout the entire movement. Think about pulling your belly button slightly toward your spine – not sucking in, just engaging those muscles. This not only helps keep the hoop spinning but also maximizes those awesome toning benefits.
One of the trickiest aspects to master is rhythm maintenance. The hoop has its own natural rhythm based on its size and weight, and fighting against it is a losing battle (trust me, I tried!). I teach my students to start by counting “1-2-1-2” as the hoop moves around their body. Once you find that natural pace, it becomes almost meditative. A weighted hoop typically rotates about 120-130 times per minute when you’ve found your sweet spot.
Now for some common corrections I’ve both experienced and observed. First off, stop looking down at the hoop! This throws off your balance and alignment. Keep your gaze forward and trust your body to feel the hoop’s movement. Another frequent issue is rushing the movement – slower is actually better when you’re learning. I’ve seen so many people trying to match the speed of those Instagram trick videos right out of the gate.
Here’s a super specific tip that transformed my practice: place a piece of painter’s tape on the floor in a circle slightly larger than your stance. This gives you a visual reference for how much space you should be using. When I first tried this, I realized I’d been making tiny movements when I actually needed to use more space to keep the hoop going.
The most frustrating correction for me personally was learning to maintain a neutral spine. I kept arching my back, thinking it would help, but it just led to soreness. Your spine should stay in its natural alignment – think about standing tall like there’s a string pulling you up from the crown of your head. This small adjustment made my hooping sessions so much more comfortable and effective.
Remember, everyone’s body moves differently, and that’s perfectly okay! Some of my most successful students modified these techniques to match their unique movement patterns. The key is finding what works for your body while maintaining these core principles. If something feels awkward or painful, that’s your signal to adjust your form.
Workout Plans
Let me tell you how I developed my hula hooping workout routine – and trust me, there were plenty of “what was I thinking?” moments along the way! After trying various approaches with my community center fitness group, I’ve figured out what really works for beginners and how to progress sustainably.
Let’s start with the beginner routine I wish someone had given me when I first picked up a hoop. You’ll want to break your practice into three 5-10 minute sessions throughout the day. I know it might sound too easy, but there’s a method to this madness! When I first started, I ambitiously tried a full 30-minute session and ended up with sore muscles in places I didn’t even know existed.
Here’s my tried-and-tested progression schedule:
Week 1: Three 5-minute sessions daily, focusing purely on keeping the hoop up
Week 2: Three 8-minute sessions daily, starting to experiment with speed changes
Week 3: Two 15-minute sessions daily, adding basic movements like side steps
Week 4: One 20-30 minute session daily, incorporating more dynamic movements
I’ve found that intensity levels work best when broken down into what I call my “Four S” system:
Steady: Basic waist hooping at a consistent pace
Shifting: Adding arm movements while maintaining the hoop
Stepping: Including walking and directional changes
Sophisticated: Combining multiple movements and transitions
Speaking of transitions – don’t rush them! I learned this the hard way after an overambitious attempt at fancy moves left me tangled up in my hoop during a community demo (talk about a humbling experience!). Each level should feel completely comfortable before moving to the next.
Rest periods are super important, and I totally messed this up when starting out. For beginners, take a full day off between hooping sessions. Once you’re more advanced, you can hoop daily but include 2-3 minute breaks every 10 minutes of active hooping. I like to time these breaks with music – every third song is my signal to pause and hydrate.
Here’s a pro tip I discovered by accident: keep a workout log! I use my phone to track session duration and how I’m feeling afterward. Looking back at these notes is incredibly motivating, especially on those days when it feels like you’re not improving. It’s amazing to see how far you’ve come when you have it all written down.
One thing that really helped me stick to the routine was setting up designated hooping spots. I keep one hoop in my living room for quick morning sessions and another near my desk for afternoon breaks. Making it convenient means you’re more likely to actually do it, even on busy days.
Remember, consistency beats intensity every single time. Those shorter sessions you actually complete are worth way more than the longer ones you skip because they feel too daunting. Start small, stay consistent, and watch your skills grow naturally. Trust me, your body will thank you for taking it slow and steady!
For optimal results, follow this daily structure I developed through lots of trial and error:
Morning session: Focus on basic form and warming up
Afternoon session: Work on new skills and patterns
Evening session: Practice flowing movements and cooling down
Just don’t make the mistake I did of trying to master everything at once. Each stage builds on the last, creating a solid foundation for more advanced moves later. And hey, if you miss a session or struggle with a new movement, that’s totally normal – it’s all part of the learning process!
Equipment Selection
Let me share what I’ve learned about choosing the right hula hoop after years of trying different options and helping my students find their perfect fit. I wish I’d known this stuff before wasting money on hoops that weren’t right for my body and skill level!
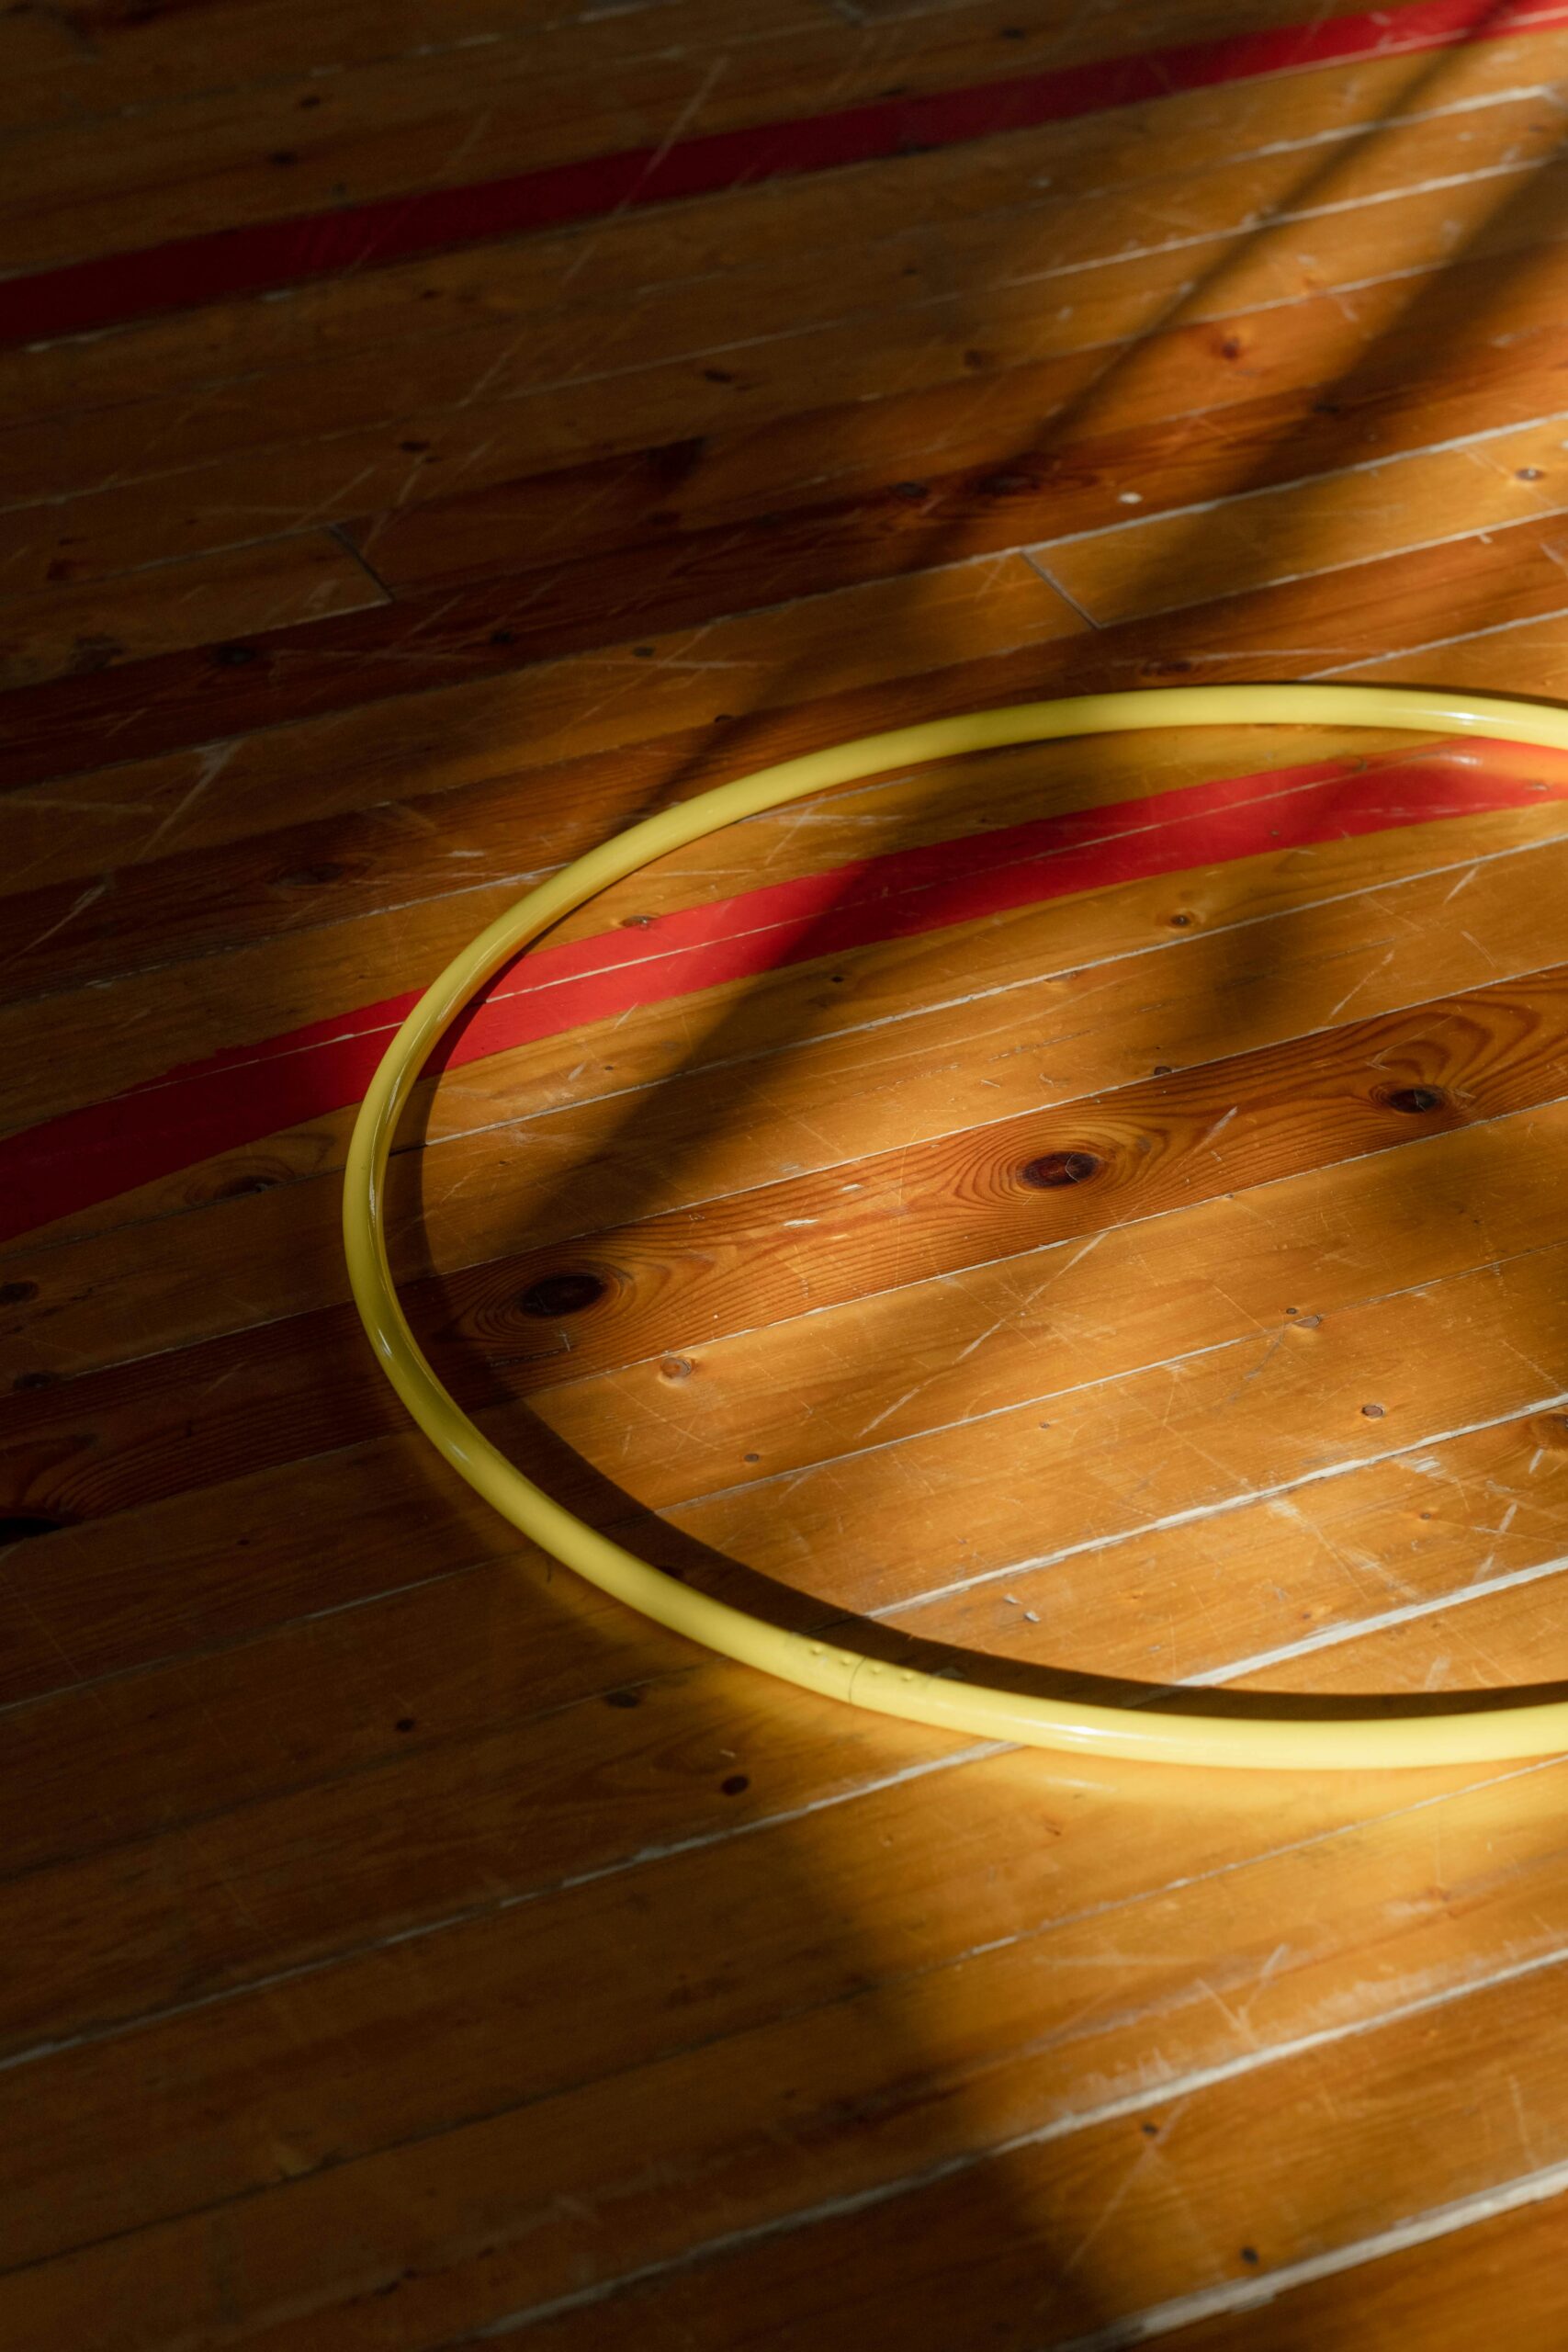
When it comes to hoop size, here’s my golden rule: for beginners, your standing hoop should reach somewhere between your belly button and mid-chest when placed vertically on the ground. I started with one of those tiny fitness hoops from the sporting goods store – big mistake! A larger hoop moves more slowly, giving you time to find your rhythm. For reference, most adults should start with a hoop between 38-42 inches in diameter, depending on their height and torso length.
The weight debate is something I’m pretty passionate about after seeing so many people struggle with the wrong options. For beginners, I recommend a hoop between 1.5 to 2 pounds. When I first started, I tried using a super lightweight kid’s hoop from the toy store – it was impossible to keep up! The extra weight provides momentum and helpful feedback to your body. However, anything over 2 pounds can be too taxing for extended practice sessions.
Let’s talk materials because this is where quality really matters. High-density polyethylene (HDPE) has become my go-to recommendation. I learned about this after my first polypropylene hoop cracked during a cold weather session. HDPE is more durable and performs consistently in different temperatures. For the tubing, look for 3/4 inch to 1 inch diameter – I’ve found this size range offers the best control for adult beginners.
Want to know how to spot a quality hoop? Here are my tried-and-true indicators: Smooth, even seams where the tubing connects (I once had a cheap hoop with rough edges that actually scratched my skin), consistent thickness throughout the entire hoop, and uniform coating or tape application. If you hear any rattling when you shake the hoop, that’s a red flag – it means the connections aren’t secure.
Maintenance might seem trivial, but it can really extend the life of your hoop. I store mine hanging on wall hooks now after learning the hard way that leaving them leaning in a corner can lead to warping. Clean your hoop regularly with a mild soap solution – I use a 1:10 ratio of gentle dish soap to water. And here’s a pro tip I discovered by accident: if your grip tape starts peeling, a quick blast with a hair dryer can help re-activate the adhesive!
Here’s something specific that most people don’t know: temperature matters! Store your hoop in a climate-controlled area if possible. I once left my favorite hoop in my car during summer, and it warped into an oval shape. While some warping can be fixed by laying the hoop flat in a warm room for 24 hours, severe warping is usually permanent.
Pay attention to the grip surface too. My personal preference is a slightly textured exterior – either from grip tape or the material itself. Smooth hoops might look prettier, but they’re harder to control, especially when you start sweating. I learned this during an embarrassing demonstration where my smooth hoop kept slipping down!
For those on a budget (like I was when starting), focus your money on the right size and weight first. You can always upgrade to a fancier hoop with better grip materials later. I started with a basic HDPE hoop and used it for six months before investing in a premium model with custom grip tape.
Remember, a good quality hoop is an investment in your fitness journey. I’m still using my properly maintained hoops from three years ago, while some of my students who bought cheaper options have had to replace theirs multiple times. Take care of your equipment, and it’ll take care of you!
Safety Guidelines
Let me tell you about the safety lessons I’ve learned through hula hooping – some of them the hard way! After teaching dozens of students and making plenty of my own mistakes, I’ve developed a solid understanding of what it takes to stay safe while getting a great workout.
Space requirements are absolutely crucial, and I learned this after knocking over my favorite lamp (RIP!). You need a clear circle with a radius about 2 feet larger than your hoop’s diameter. I measure this by standing in place and holding my hoop out horizontally – there should be no obstacles within reach. Remember to check overhead too! I once got my hoop caught on a ceiling fan, and let’s just say that was an interesting conversation with my insurance company.
When it comes to form checks, I’ve developed what I call the “posture trifecta”: feet shoulder-width apart, knees slightly bent, and spine neutral. I teach my students to do quick body scans every few minutes. Here’s a tip that changed my practice: set up your phone to record a short video of your form. I discovered I was arching my back way too much when I finally watched myself – no wonder I was getting sore!
Recovery time is something you really need to pay attention to. When I first started, I pushed through some obvious warning signs and ended up with a strained oblique that sidelined me for two weeks. Now I follow the “24-hour rule”: if you’re still feeling significant muscle soreness after 24 hours, take an extra rest day. Light stretching after each session makes a huge difference too.
Let’s talk about progression pace, because this is where I see most people get into trouble. A safe progression follows what I call the “80% rule” – only attempt new movements or increase duration when you can perform your current routine with 80% consistency. I remember trying to jump from basic waist hooping straight to walking patterns after watching some YouTube videos. My bruised hips definitely regretted that decision!
For injury prevention, here are some specific guidelines I’ve developed:
1. Never hoop when you’re too tired – your form will suffer
2. Stay hydrated – I drink about 8 ounces of water for every 20 minutes of hooping
3. Wear fitted but comfortable clothing – loose clothes can catch on the hoop
4. Listen to your body’s warning signals – sharp pain is never normal
Here’s something most instruction manuals won’t tell you: bruising around your waist is common for beginners, but it should never be severe. I developed a technique of wearing a thin, fitted tank top under my regular workout clothes during those first few weeks. It provided just enough padding while my body adjusted to the hoop’s movement.
Temperature matters more than you might think! I always recommend warming up with some light stretching and starting with slower movements. One time I jumped right into an intense session on a cold morning – my stiff muscles made it much harder to maintain proper form, and I ended up with unnecessary soreness.
The most important safety tip I can share is about knowing your limits. If you start feeling dizzy or light-headed (which happened to me during a particularly ambitious session), stop immediately and take deep breaths. It’s better to take a break than risk injury from pushing too hard.
And here’s my secret weapon for preventing overuse injuries: cross-training. I alternate hooping days with other forms of exercise to prevent repetitive strain. This approach has helped me build better overall fitness while giving my hooping muscles time to recover properly.
Remember, safety isn’t just about avoiding injury – it’s about creating a sustainable practice that you can enjoy for years to come. Take it from someone who learned these lessons through experience: a careful approach pays off in the long run!
Conclusion:
Start with 10 minutes daily, progress to 30-minute sessions.